Note: This is an informational guide. Some links in this article are affiliate links — if you purchase through them we may earn a small commission at no extra cost to you.
Making great espresso at home isn’t complicated — but it does require understanding a handful of key variables. Most home espresso problems come from the same three sources: grind size, dose, and extraction time. Get those right and everything else follows. This guide walks you through every step of pulling a proper espresso shot, from setting up your equipment to diagnosing and fixing common problems. No jargon. No assumptions. Just clear, actionable advice.
🔗 Don’t have your machine yet? Read our guide to the best beginner espresso machines before continuing — the right machine makes everything in this guide significantly easier.
What You Need Before You Start
- An espresso machine — any semi-automatic will work for this guide
- A burr grinder — this is non-negotiable for consistent espresso. See our guide to the best burr grinders
- Fresh coffee beans — roasted within the last 4-6 weeks, espresso blend
- A tamper — most machines include one, or buy a 58mm tamper separately
- A kitchen scale — optional but highly recommended for beginners
The Six Steps to Great Espresso
Warm Up Your Machine
Espresso extraction requires consistent temperature — typically 90-96°C. Most home machines need 20-30 minutes to reach stable operating temperature, though some like the Sage Bambino Plus heat up in seconds.
Run a blank shot (hot water through the empty portafilter) before your first espresso of the day. This purges any residue and stabilises the group head temperature.
Grind Your Coffee
Espresso requires a fine grind — much finer than filter coffee, but not as fine as Turkish coffee. The exact setting depends on your grinder and your beans — this is what “dialling in” means.
Start with your grinder at a medium-fine setting. A correctly ground espresso should feel slightly coarser than table salt when rubbed between your fingers — not powder, but not gritty either.
Grind directly into the portafilter basket or into a dosing cup. Dose weight: for a double espresso, aim for 18-20g of ground coffee.
Distribute and Tamp
Before tamping, distribute the grounds evenly in the basket. Use your finger or a distribution tool to level the surface — uneven distribution causes channelling (water taking the path of least resistance through gaps, producing uneven extraction).
Place the portafilter on a flat surface. Hold the tamper like a door handle — thumb along the side, fingers wrapped around — and apply firm, level pressure directly downward. Aim for approximately 15-20kg of pressure — enough to compact the puck firmly but not forcefully. Twist slightly at the end to polish the surface.
The tamped surface should be level and smooth, sitting about 5mm below the rim of the basket.
Lock In and Extract
Insert the portafilter into the group head and twist firmly to lock. Start extraction immediately — don’t let the grounds sit in a hot group head, they’ll pre-infuse unevenly.
Start your timer as you begin extraction. A well-pulled double espresso should yield approximately 36-40g of liquid in 25-30 seconds. This is the golden ratio to aim for.
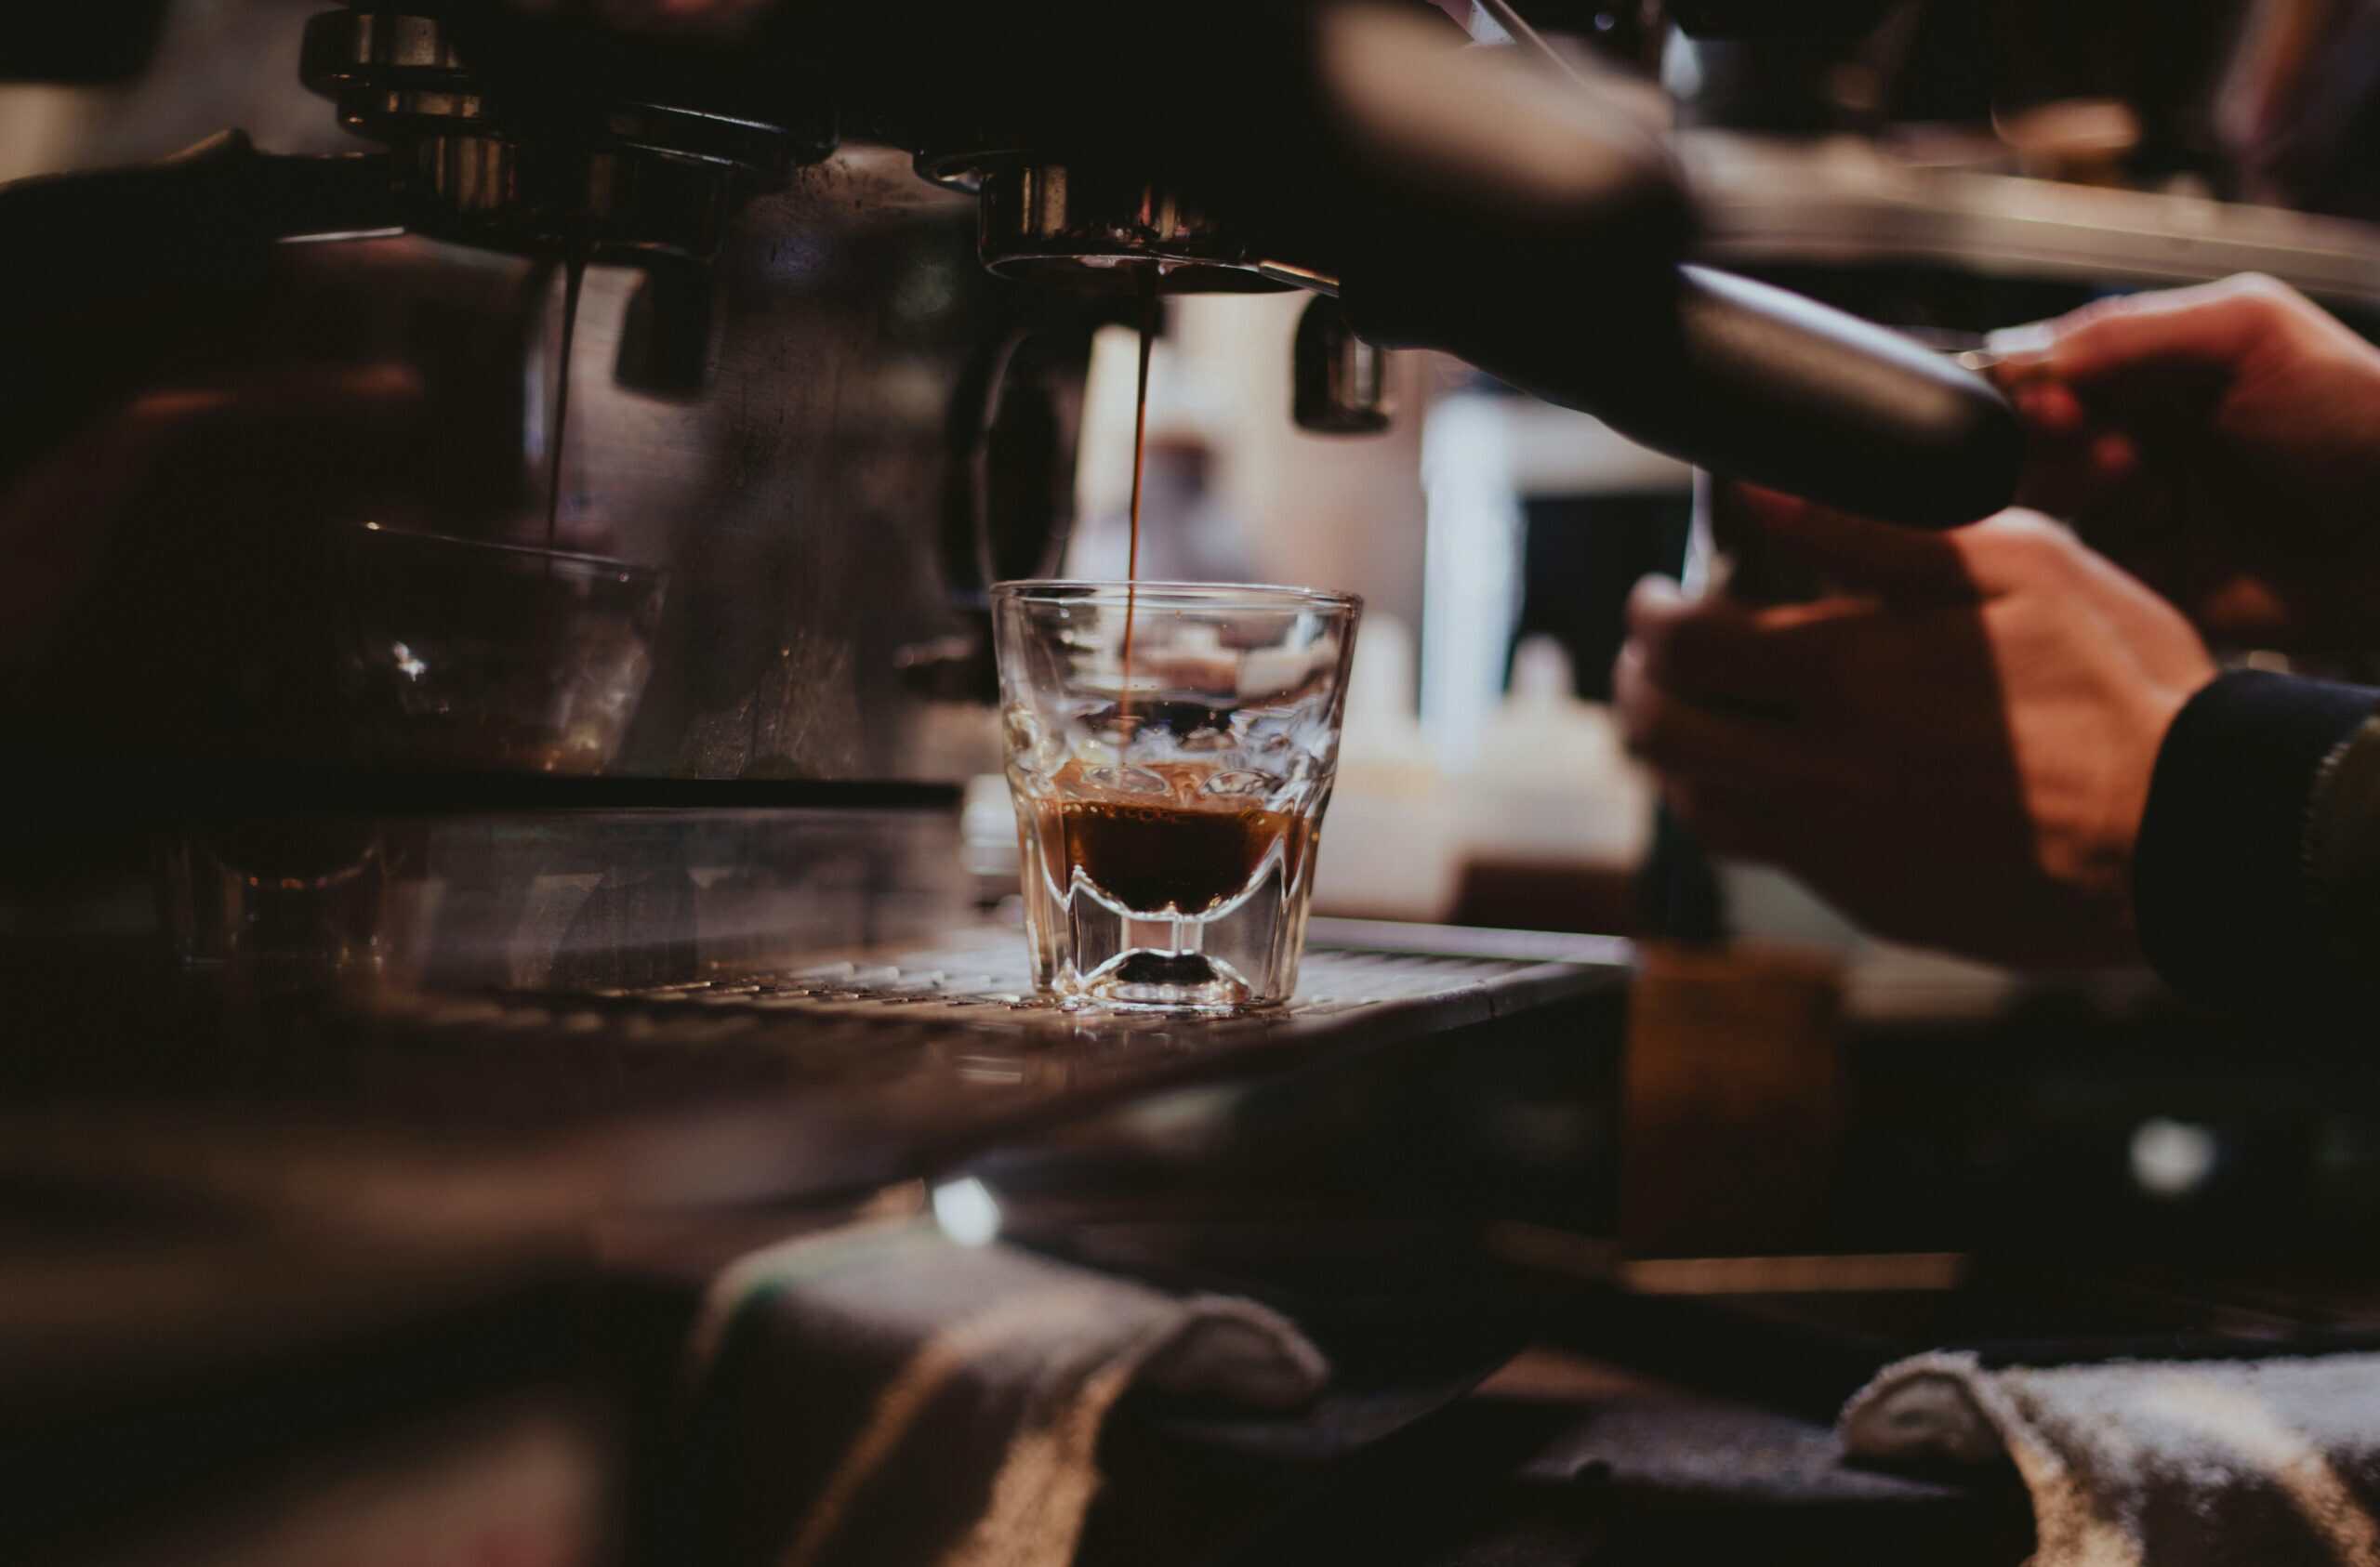
Watch the extraction: it should start as a thin stream of dark liquid (almost black), gradually lighten to a rich caramel brown, and develop a thick crema on top. If it runs clear or pale, stop — you’ve over-extracted.
Evaluate Your Shot
Before drinking, look at the crema — it should be thick, hazel-brown, and cover the surface. Thin crema or pale colour suggests under-extraction; dark or bitter-smelling crema suggests over-extraction.
Taste it. A well-pulled shot should be complex — sweet, slightly bitter, with fruit or chocolate notes depending on the bean. It should not be aggressively sour or harshly bitter.
Sour? Under-extracted — grind finer or increase dose.
Bitter? Over-extracted — grind coarser or reduce extraction time.
Balanced? You’ve nailed it. Write down your settings.
Dial In and Repeat
Dialling in means adjusting variables until your shot is consistently balanced. Change one variable at a time — usually grind size first. Make small adjustments and pull another shot. This is how every home barista and professional improves.
When you change bean bags (even the same blend from the same roaster), you’ll need to re-dial slightly — freshness, humidity, and roast batch all affect extraction. This gets faster as your palate and technique develop.
Common Problems and How to Fix Them
Espresso Troubleshooting Guide
Shot runs too fast (<20 seconds)
Grind finer. The water is flowing through too easily — the coffee bed isn’t dense enough to slow it down.
Shot runs too slow (>35 seconds)
Grind coarser. The puck is too dense — water is struggling to pass through. Also check your dose isn’t too high.
Tastes sour or weak
Under-extracted. Grind finer, increase dose slightly, or check your water temperature is high enough.
Tastes harsh or bitter
Over-extracted. Grind coarser, reduce your dose, or shorten extraction time by stopping earlier.
Thin or pale crema
Usually stale beans or too-coarse a grind. Check your roast date — beans more than 6 weeks old lose crema significantly.
Channelling — spurting extraction
Uneven distribution or tamping. Redistribute grounds more carefully and ensure your tamp is perfectly level.
The Equipment That Makes This Easier
You don’t need expensive accessories to make great espresso, but a few items genuinely help:
- Kitchen scale (0.1g precision) — removes dosing guesswork entirely. Any £15-20 pocket scale works well.
- Distribution tool — a simple WDT (Weiss Distribution Technique) tool or even a toothpick stirred through the grounds before tamping improves consistency dramatically.
- Quality tamper — the plastic tampers included with most machines are inadequate. A flat-base stainless steel tamper (£20-40) makes a genuine difference.
- Shot glasses or a spouted portafilter — lets you see the extraction in real time and catch problems early.
The Most Important Things to Remember
The grinder is everything. Without a quality burr grinder, all the technique in the world won’t produce consistent espresso. If you’re using a blade grinder, upgrading it should be your first priority.
Change one thing at a time. When dialling in, adjust only grind size until that’s right, then dose, then extraction time. Changing multiple variables simultaneously means you’ll never isolate what actually improved the shot.
Fresh beans matter enormously. Beans roasted more than 6-8 weeks ago will never produce great crema or complex flavour, regardless of technique. Buy from a roaster that prints the roast date on the bag.
Practice is the only path to consistency. Every barista — amateur and professional — produces bad shots regularly. The goal is to understand why and adjust. Your palate will develop faster than you expect.
🔗 Ready to choose your equipment? See our guide to the best beginner espresso machines and our guide to the best burr grinders under £200 — both include specific recommendations for every budget.
Frequently Asked Questions
How long does it take to learn to make good espresso?
Most people can pull consistently decent shots within 2-4 weeks of daily practice. Pulling reliably excellent shots takes longer — typically 2-3 months of regular use. The learning curve is steeper than people expect, but the improvement is rapid once the basic variables are understood.
What’s the best coffee for home espresso?
Medium-dark roast espresso blends work best for beginners — they’re more forgiving of minor extraction errors than light roasts. Look for blends with chocolate or caramel tasting notes. Specialty single-origin beans produce extraordinary results but require more precise dialling. Start with a well-regarded blend and progress to single origins as your technique develops.
Do I need filtered water for espresso?
Hard water (high in minerals) causes scale buildup and affects extraction quality. If your tap water is very hard (above 200ppm), a water filter improves both taste and machine longevity. Brita-filtered water is a simple and effective solution. Avoid distilled or softened water — some mineral content is needed for proper extraction.
How do I clean my espresso machine?
After every use: knock out the spent puck, rinse the portafilter basket, and wipe the group head with a damp cloth. Weekly: backflush with water (and backflushing detergent if your machine supports it). Monthly: descale according to your machine’s instructions. Regular cleaning prevents flavour contamination and extends machine life significantly.